Cabinet painting timeline
Cabinet Painting Timeline
Most cabinet painting projects take 4-7 working days for a typical kitchen, plus extra cure time before the finish reaches full hardness. The real schedule depends on prep, repairs, cabinet count, color change, and the coating system.
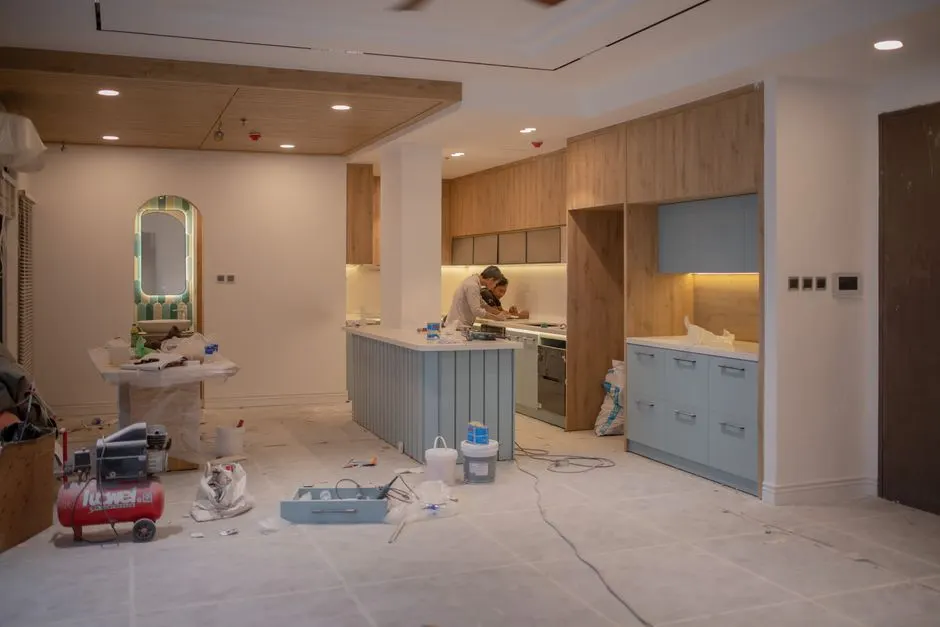
Quick answer
A good cabinet finish is usually measured in days, not hours.
If a painter says they can clean, sand, prime, paint, reinstall, and finish your whole kitchen in one day, that is not a flex. That is a warning light.
Cabinets are touched constantly. They sit near steam, grease, coffee, dishwashers, kids, pets, and real life. A durable result needs careful prep, the right primer, controlled coats, and enough dry time between steps.
For most Austin kitchens, New Life Painting plans the cabinet painting timeline around a practical sequence: protect the kitchen, remove and label doors, clean and sand, prime, paint, dry, reinstall, and walk the project with you before calling it finished.
Typical project timeline
What a professional cabinet painting timeline looks like.
Protect, remove, label, and clean
Counters, floors, appliances, and openings are protected. Doors and drawers are removed, hardware is bagged, and every piece is labeled before deep degreasing starts.
Sand, repair, and prime
Gloss is scuffed, damaged edges are repaired, gaps are addressed, and the right bonding or stain-blocking primer goes on. This is where the finish starts earning its durability.
Apply cabinet-grade finish coats
Doors, drawers, frames, and boxes receive controlled coats with proper dry time between passes. Sprayed doors may be staged separately for a smoother result.
Reinstall, adjust, touch up, and walkthrough
Once pieces are ready to handle, doors and drawers go back on, hardware is reinstalled, touch-ups are handled, and the final walkthrough confirms the details.
Prep days
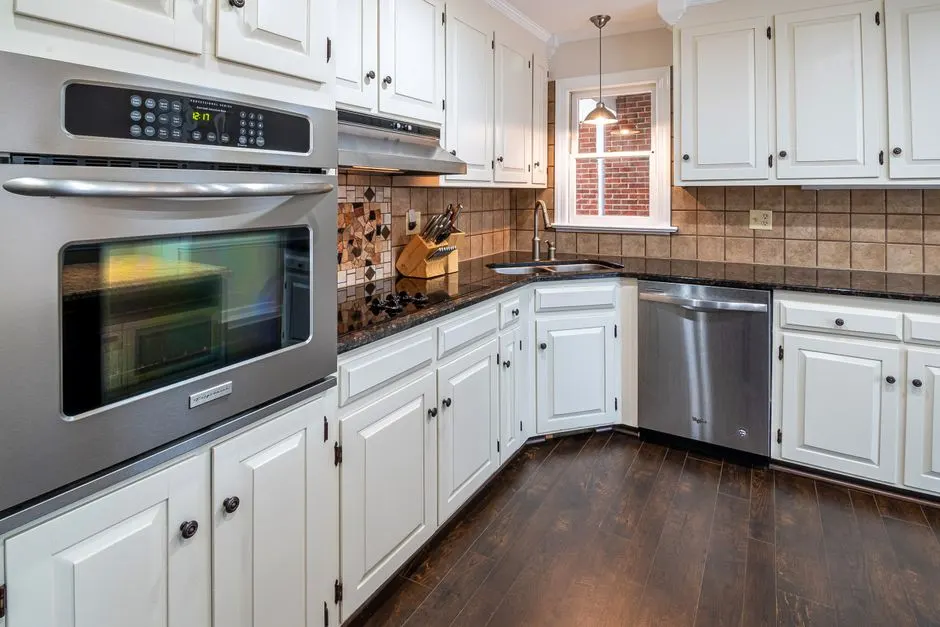
Prep is where cabinet painting is won or lost.
Prep takes time because kitchen cabinets are usually coated with years of hand oils, cooking residue, cleaners, and old finish. Pressure washing alone is not prep. Wiping once with a rag is not prep either.
A clean cabinet painting process usually includes degreasing, sanding or deglossing, filling small damage, masking, dust control, and using the right primer. Benjamin Moore explains how to paint kitchen cabinets with careful prep, and Sherwin-Williams gives similar cabinet painting guidance for a lasting finish.
This is why comparing cabinet painting quotes can get tricky. One bid might include real prep. Another might be priced like prep is optional. Cheap cabinet painting is expensive when the doors start peeling by the coffee maker.
Painting days
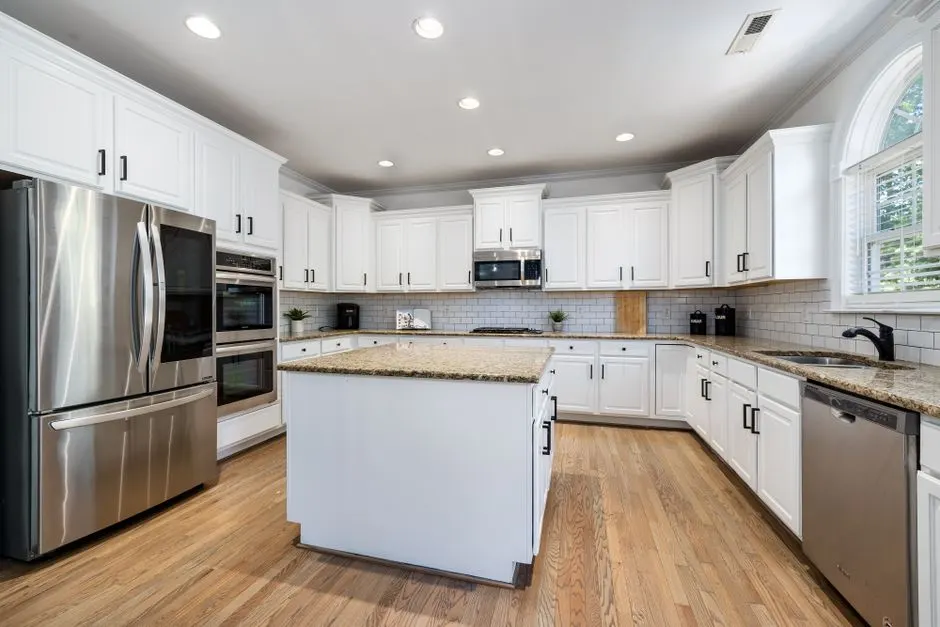
The painting phase still needs patience.
Once the cabinets are cleaned, repaired, sanded, and primed, the finish coats can begin. Depending on the system, doors and drawers may be sprayed separately while cabinet boxes are handled in place with careful masking and ventilation.
The goal is not simply to make the cabinets white, green, navy, or whatever color is living rent-free in your Pinterest board. The goal is an even, smooth, durable finish that can handle daily use.
If you are still deciding whether painting is the right route, read our guide on cabinet painting vs. replacing cabinets in Austin. If you are comparing budget numbers, our Austin cabinet painting cost guide breaks down common pricing factors.
Drying vs curing
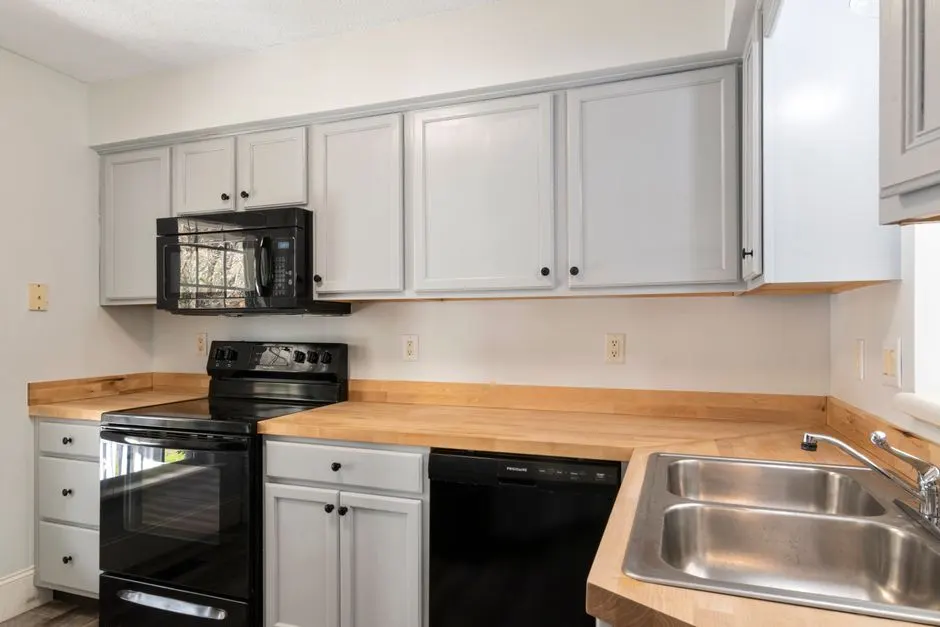
Dry does not always mean fully cured.
Cabinet paint may be dry enough to handle before it reaches full hardness. That cure window matters. Freshly painted doors can look finished while the coating is still getting tougher underneath the surface.
During the first days after reinstall, avoid slamming doors, scrubbing hard, hanging damp towels from pulls, or letting small appliances rub against fresh painted surfaces. Treat the finish gently and it will reward you.
Cure time also depends on product, color, humidity, airflow, film thickness, and temperature. Austin weather can be dramatic, so we build realistic dry-time expectations into the schedule instead of pretending every day behaves like a lab test.
What changes the timeline
Why some cabinet projects take longer than others.
Heavy grease buildup or old cleaning products on cabinet doors
Oak grain, dents, chips, peeling finish, or damaged edges
Going from dark stained wood to a bright white or designer color
Large kitchens with islands, tall pantry cabinets, and many drawer fronts
Humidity, poor airflow, cold snaps, or product-specific recoat windows
Hardware changes that require filling old holes and drilling new ones
The cabinet count matters, but condition matters just as much. A small kitchen with slick stained oak, grease buildup, and damaged edges may need more prep than a larger kitchen with newer, cleaner cabinets.
For per-door planning, see our guide on cabinet painting cost per door. It helps explain why doors, drawer fronts, boxes, crown, islands, and finish details all affect scope.
Homeowner prep
How to make your cabinet painting project move smoothly.
Clear counters and move small appliances before the crew arrives.
Decide whether hardware stays the same or gets replaced.
Plan easy meals because parts of the kitchen may be off limits.
Keep pets and kids away from staged doors, wet coatings, and protected work zones.
Mention sticky doors, water damage, peeling finish, or old touch-up spots during the estimate.
The biggest thing is simple: talk through the plan before the first cabinet door comes off. A clear schedule, clean workspace, and realistic cure expectations make the whole project feel calmer.
Free Austin cabinet estimate
Want a cabinet painting timeline that actually makes sense?
Tell us about your cabinets, color goals, hardware, and timeline. We will recommend the right prep, coating system, schedule, and next steps before the project starts.
FAQ
Cabinet painting timeline questions.
How long does cabinet painting usually take?
Most professional cabinet painting projects take about 4-7 working days for a typical kitchen. Large kitchens, heavy repairs, stain blocking, color changes, and cure requirements can push the schedule longer.
Can I use my kitchen while cabinets are being painted?
Usually, yes, but with limits. You may be able to access appliances at certain times, but doors, drawers, counters, and protected areas may be off limits during prep, spraying, drying, and reinstall.
How long does cabinet paint take to fully cure?
Cabinet paint can feel dry long before it reaches full hardness. Depending on the coating, temperature, humidity, and airflow, full cure can take days or weeks, so freshly painted cabinets should be treated gently.
Does spraying cabinets take longer than brushing?
Spraying can add setup and staging time, but it usually produces a smoother cabinet finish when done correctly. The overall timeline depends more on prep, primer, dry time, and the number of doors than the tool alone.
What makes a cabinet painting project take longer?
Repairs, grease removal, glossy old finishes, oak grain, dark-to-light color changes, stain bleed, extra doors, humidity, and hardware changes can all add time. The hidden time is usually in prep, not the final coat.
Is cabinet painting faster than replacing cabinets?
In most cases, yes. Painting cabinets is usually much faster and less disruptive than a full cabinet replacement, especially when the existing boxes and layout are in good shape.
Related guides and services
Written by New Life Painting
New Life Painting is a family-owned painting company serving Austin and Central Texas with cabinet painting, interior painting, exterior painting, drywall repair, clean prep, respectful crews, and free estimates.